Growing sprouts in a jar is an easy, cost-effective way to enjoy fresh, nutritious greens year-round. Whether you’re a seasoned gardener or a novice, this method requires minimal supplies and effort.
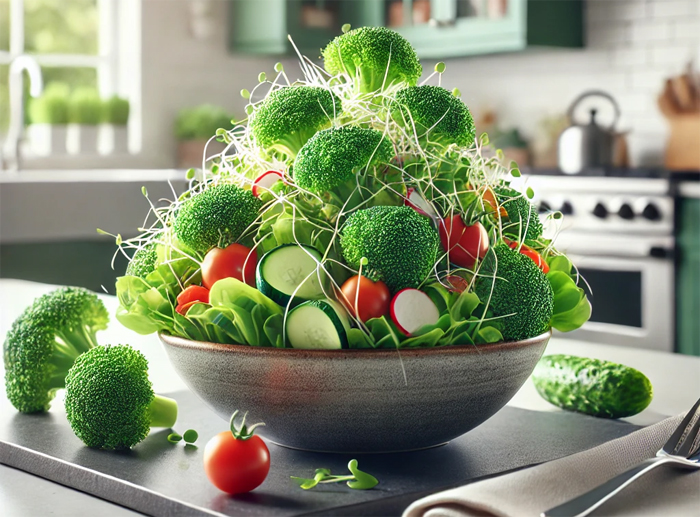
The result is a continuous supply of crunchy, healthy sprouts that can be added to salads, sandwiches, and more. Let’s dive into the step-by-step process to grow your own sprouts in a jar, ensuring a bountiful harvest every time.
Essential Supplies
To get started, you need a few basic supplies:
- Sprouting Seeds: Choose high-quality, organic seeds specifically meant for sprouting. Broccoli, alfalfa, and mung beans are popular choices.
- Wide-Mouth Mason Jar: A quart-size jar works well for most sprouting needs.
- Sprouting Lid or Cheesecloth: This allows for easy rinsing and draining. A mesh sprouting lid or a piece of cheesecloth secured with a rubber band works perfectly.
- Water: Clean, filtered water is ideal for soaking and rinsing the seeds.
Step-by-Step Process
Step 1: Soaking the Seeds
Start by placing 1-2 tablespoons of sprouting seeds into your mason jar. Add enough water to cover the seeds by about two inches. Let the seeds soak for 8-12 hours or overnight. This initial soaking is crucial as it activates the seeds, preparing them for germination.
Step 2: Draining and Rinsing
After soaking, drain the water through the sprouting lid or cheesecloth. Rinse the seeds with fresh water, swirling them around to ensure they are thoroughly washed. Drain the water completely. Proper rinsing and draining are essential to prevent mold and bacteria growth.
Step 3: Daily Rinsing and Draining
For the next 3-5 days, rinse and drain the seeds twice daily – once in the morning and once in the evening. During this period, keep the jar in a spot with indirect sunlight. A kitchen counter away from direct sunlight is ideal. After each rinse, ensure the jar is drained thoroughly and placed at an angle to allow excess water to escape.
Step 4: Watching the Growth
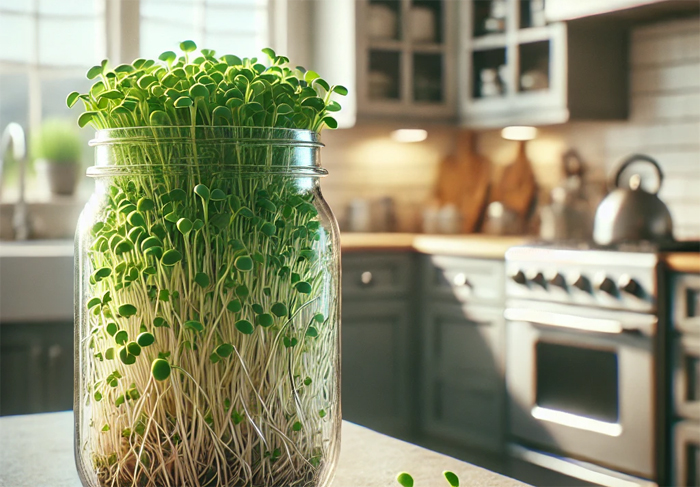
As the days progress, you’ll see tiny sprouts emerging from the seeds. Continue the rinse-and-drain routine. By the third or fourth day, your sprouts will have grown significantly and will be ready to harvest.
Step 5: Harvesting the Sprouts
When the sprouts are about 1-2 inches long, they are ready to be harvested. Give them a final rinse, drain well, and transfer them to a clean container. Store the sprouts in the refrigerator, where they can stay fresh for up to a week.

Tips for Successful Sprouting
- Use Fresh Seeds: Always use fresh, high-quality seeds to ensure good germination rates and healthy sprouts.
- Maintain Cleanliness: Keep your jar and sprouting lid clean to avoid contamination. Sterilize the jar between batches if needed.
- Proper Airflow: Ensure your sprouts have good airflow by not overpacking the jar with seeds. Overcrowding can lead to poor sprout development and mold growth.
- Avoid Direct Sunlight: Sprouts thrive in indirect light. Direct sunlight can cause the sprouts to overheat and dry out.
- Temperature Control: Keep the sprouting jar in a cool, dark place, ideally between 65-75°F. Extreme temperatures can affect sprout growth.
Conclusion
Growing sprouts in a jar is a simple, rewarding process that brings fresh, nutritious greens to your kitchen in just a few days. By following these expert tips and maintaining a clean, consistent routine, you’ll enjoy a continuous supply of delicious sprouts. Whether you’re adding them to salads, sandwiches, or smoothies, homegrown sprouts are a wonderful way to boost your meals with extra vitamins and minerals. So grab your mason jar, some seeds, and start sprouting today!


